

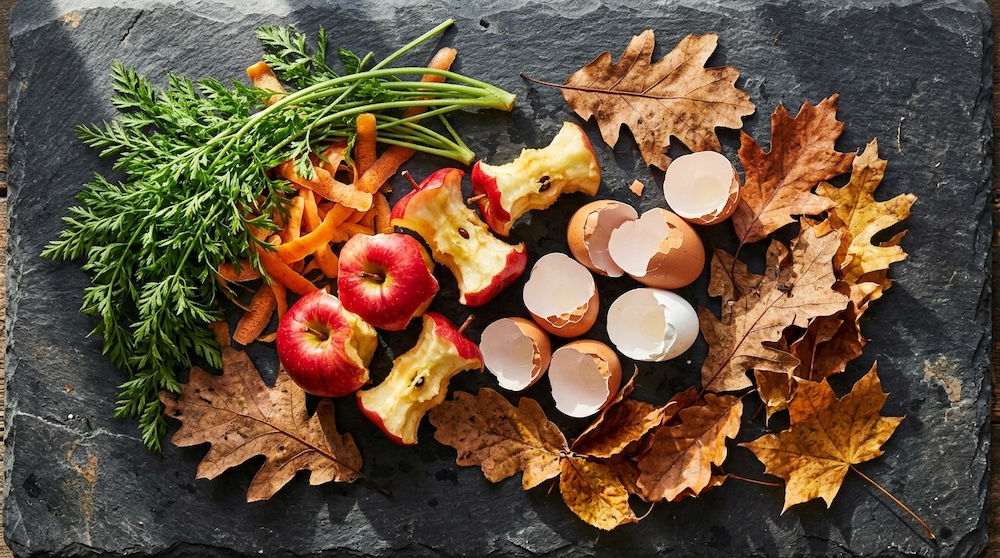
Every time you toss vegetable peels, coffee grounds, or eggshells into the trash, you’re throwing away free fertilizer. Backyard composting transforms everyday kitchen scraps into rich, dark soil amendment that plants love — and it costs almost nothing to start.
Here’s everything you need to know to get it right from day one.
Why Compost at Home?
Composting isn’t just good for the environment. It’s good for your garden and your wallet.
- Reduces household waste by up to 30%
- Eliminates the need for store-bought fertilizers
- Improves soil structure, drainage, and water retention
- Feeds beneficial microorganisms that keep plants healthy
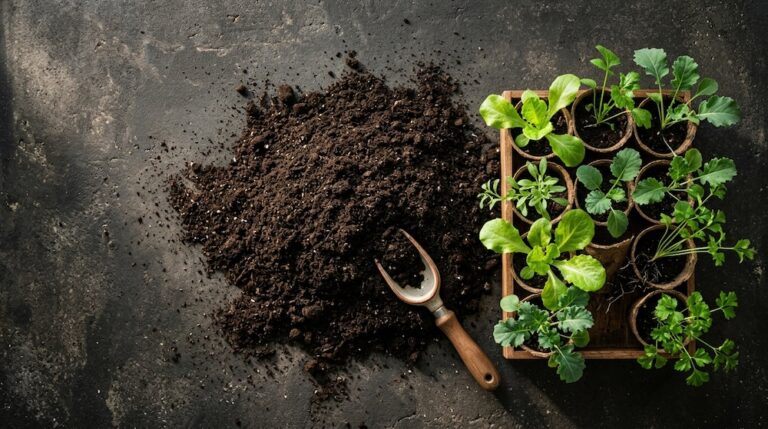
Finished compost — often called “black gold” by gardeners — is one of the most nutrient-dense soil amendments available. And yours costs nothing but time.
What You Can (and Can’t) Compost
Green Materials — Nitrogen-Rich Inputs
- Fruit and vegetable scraps
- Coffee grounds and paper filters
- Fresh grass clippings
- Plant trimmings
Brown Materials — Carbon-Rich Inputs
- Dry leaves
- Cardboard and paper (torn into pieces)
- Straw and hay
- Wood chips and sawdust
What to Keep Out
- Meat, fish, and dairy (attracts pests)
- Oily or greasy foods
- Diseased plants
- Pet waste
The golden rule: if it grew from the ground, it can almost certainly go back into it.
Setting Up Your Compost System
Choosing the Right Bin
You don’t need expensive equipment. Options range from a simple wire mesh ring to a wooden three-bay system. For most households, a single enclosed bin works perfectly — it keeps pests out and retains heat and moisture.
Minimum recommended size: 3 feet × 3 feet × 3 feet. Smaller piles don’t generate enough heat to break down efficiently.
Finding the Right Spot
Place your bin:
- In partial shade to prevent drying out
- Directly on soil (not concrete) so worms can enter
- Close enough to the kitchen to make daily use convenient
The Composting Process: Getting It Right
The 2:1 Brown-to-Green Ratio
Balance is everything. Too many greens and your pile turns slimy and smells. Too many browns and decomposition slows to a crawl.
Aim for roughly two parts brown material to one part green by volume. This ratio feeds the microbes doing the real work.
Moisture and Aeration
Your compost pile should feel like a wrung-out sponge — damp but not dripping. If it’s too dry, add water. If it’s too wet, layer in more browns.
Turning the pile every one to two weeks introduces oxygen, which dramatically speeds decomposition and prevents odors.
How Long Until It’s Ready?
| Method | Timeline |
|---|---|
| Hot composting (turned regularly) | 6–8 weeks |
| Cold composting (minimal turning) | 3–6 months |
| Tumbler composting | 4–6 weeks |
Finished compost is dark, crumbly, and smells like fresh earth — not rotting food.
Using Your Finished Compost
In Garden Beds
Work 2–4 inches of compost into the top layer of soil before planting each season.
As Mulch
Apply a thin layer around plants to retain moisture and suppress weeds.
In Potting Mix
Blend compost with potting soil at a 1:3 ratio for container gardens and raised beds.
The Bottom Line
Backyard composting turns a daily waste problem into a garden asset. Once the system is running, it practically maintains itself — and the payoff is richer soil, healthier plants, and one less bag of trash heading to the curb every week.
Start with a bin, a pile of leaves, and your next batch of kitchen scraps. Nature handles the rest.



1 thought on “The Ultimate Guide to Backyard Composting: Turning Kitchen Scraps into Nutrient-Rich Garden Gold”